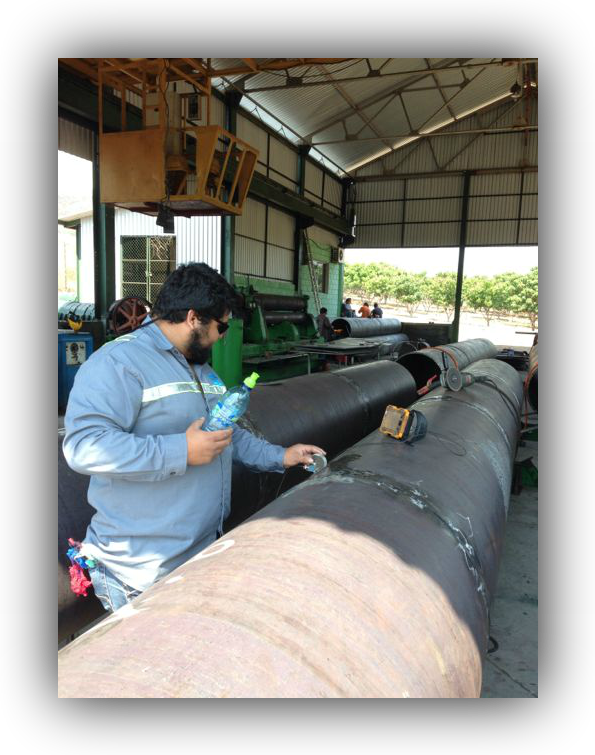
Determination of discontinuities in pipe welds, tanks, structures, pressure vessels, etc.
Determination of discontinuities in forged materials, castings and raw materials.
Applicable in ferrous and non-ferrous materials and ceramics.
1.2. Conventional Ultrasound (UT) and Phase Arrangement:
Determination of discontinuities in pipe welds, tanks, structures, pressure vessels, etc.
Determination of discontinuities in forged materials, castings and raw materials.
Applicable in ferrous and non-ferrous materials and ceramics.
1.3. Ultrasonic Thickness Determination (UTT)
Corrosion and erosion monitoring in pipes and equipment.
Loss of wall in heat exchangers, boiler tubes, structures like bridges, etc.
visible with natural or fluorescent light.
Determination of surface and subsurface manufacturing defects in ferromagnetic parts.
Determination of cracks for service in Gears, Pinions, Trunnion, Shafts, etc., in components of Ball mills, Sag in the extractive industry.
Determination of cracks in welded structures, seismic post events or overexertion.
Washable with Water. Or “B, C and D”, Post-emulsifiable, Hydrophilic or Lipophilic Methods. Penetrant Reds visible with Natural Light, techniques type “II”: o Methods “A and C”, Washable with Water. Or “C” Method, Solvent-based Post-Emulsifiable. Field of application: Determination of defects open to the surface in ferromagnetic and non-ferromagnetic parts.
Determination of cracks in parts of vehicles, crankshafts, shafts, cylinder heads, etc.
Determination of surface discontinuities in welds.
